
Views: 257 Author: Maituohong Packaging Publish Time: 2026-09-09 Origin: Site


Content Menu
● Why Accurate Box Measurements Matter
● The Standard Order: Length × Width × Height
>> How to Identify Height or Depth
● Measure Internal Dimensions, Not External Dimensions
>> Internal vs. External Dimensions
● Tools You Need to Measure a Box
● Step-by-Step: How to Measure a Product for a Custom Box
>> 1. Prepare the Final Product
>> 2. Identify the Longest Side
>> 3. Measure the Shorter Horizontal Side
>> 4. Measure the Vertical Side
>> 5. Add Functional Clearance
>> 6. Confirm the Product Orientation
● How to Measure an Existing Box
● Understanding Dimensional Weight
● Expert Checklist Before Box Production
● Common Box Measurement Mistakes
>> Using Outside Dimensions for a Custom Order
>> Forgetting Product Protrusions
>> Choosing a Box Based Only on Shipping Cost
>> Ignoring the Packing Process
>> 1. What is the correct order for box dimensions?
>> 2. Should I provide internal or external box dimensions?
>> 3. How much extra space should I add around my product?
>> 4. How do I measure an irregularly shaped product?
>> 5. Does box size affect shipping cost?
>> 6. What is the difference between a mailer box and a shipping box?
>> 7. Why does my product fit in a sample box but not in mass production?
Accurate box dimensions are the foundation of reliable custom packaging. For mailer boxes, shipping boxes, corrugated cartons, and rigid paperboard boxes, the correct measurement format is Length × Width × Height (L × W × H)—but the real work is making sure those dimensions reflect the usable internal space, protective materials, product orientation, and shipping requirements.
At Maituohong Packaging, we have spent more than 18 years designing and manufacturing custom paper packaging. In practice, the most costly packaging errors rarely come from choosing the wrong box style. They usually begin with a small measuring mistake: using outside dimensions instead of inside dimensions, allowing no space for inserts, or overlooking the way a carrier calculates dimensional weight.
This guide explains how to measure box dimensions accurately, specify a custom mailer box or shipping box clearly, calculate box volume, and avoid common fit and freight-cost problems before production begins.
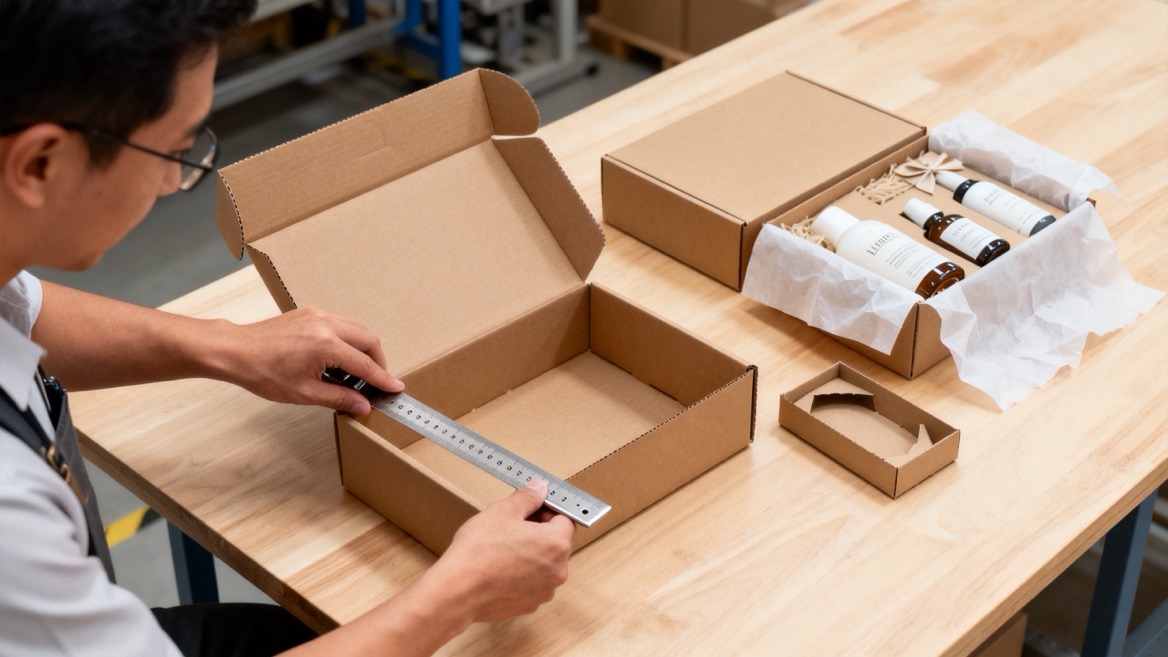
Box dimensions describe the three internal measurements of a box:
Length×Width×Height
For example:
30 cm×20 cm×8 cm
This means the box has:
- Length: 30 cm
- Width: 20 cm
- Height: 8 cm
In custom packaging, this order should remain consistent. It helps the packaging manufacturer understand the intended opening direction, product position, material layout, insert structure, and shipping-carton design.
For most rectangular mailer boxes and shipping boxes:
- Length is the longest side of the box opening.
- Width is the shorter side of the box opening.
- Height—also called depth—is the distance from the bottom panel to the top of the box.
Industry guidance commonly specifies corrugated-box sizes using internal dimensions, with length identified as the longer opening dimension, width as the shorter opening dimension, and depth or height as the measurement from the opening to the bottom.
A box is not simply a container around a product. It is part of the product experience, a protective structure during transportation, and a cost factor in warehousing and parcel shipping.
A box that is too small can create several problems:
- Product corners may become compressed or scratched.
- Folding cartons may bulge or fail to close properly.
- Rigid gift boxes may look distorted.
- Inserts may not fit inside the finished packaging.
- Workers may struggle to pack products consistently.
- The product may be exposed to impact because protective material cannot fit.
A box that is too large also creates risks:
- The product may move inside the box.
- More void fill may be required.
- Material consumption and carton cost may increase.
- Shipping charges may rise because of unused space.
- The unboxing experience may feel less refined.
- More storage space may be needed for assembled boxes.
The goal is not to choose the smallest possible box. The goal is to create the right internal space for the product, protection, presentation, and shipping journey.
When requesting a quotation for a custom mailer box, shipping box, or rigid box, always provide dimensions in this format:
Length×Width×Height
For example:
- 25 × 18 × 6 cm
- 10 × 8 × 3 inches
- 320 × 220 × 75 mm
Avoid writing dimensions without identifying the order. A size such as "20 × 30 × 8 cm" may appear simple, but it can create confusion if the manufacturer interprets the opening direction differently from your intended design.
Length is normally the longest horizontal dimension when you look down into the open box.
For a mailer box measuring 30 × 20 × 10 cm:
- 30 cm is the length.
- It usually runs from left to right across the front opening.
- It often becomes the dominant visual dimension of the box lid.
For product packaging, length may align with the product's longest side. However, this is not always the best choice. A different orientation may reduce the box footprint, improve stacking, reduce void space, or create a better presentation when the customer opens the package.
Width is the shorter horizontal dimension of the box opening.
In a standard self-locking mailer box, width typically runs from the front panel toward the back hinge. In a shipping box, it is usually the shorter side of the base.
Width is important because it affects:
- The product's side-to-side clearance.
- The design of molded pulp, foam, paperboard, or corrugated inserts.
- The visual proportions of the packaging.
- How efficiently boxes are arranged inside a master carton.
- How comfortably the customer can remove the product.
Height is the vertical internal space from the bottom panel to the top closure.
Some packaging suppliers call this measurement depth, especially for corrugated shipping cartons. In practical terms, height and depth often refer to the same dimension: the distance from the box bottom to the top opening or lid.
Height should account for the full packaged product, including:
- Product thickness.
- Folded garments or accessories.
- Product handles, caps, pumps, or protruding components.
- Protective tissue paper.
- Inserts or dividers.
- Top clearance required for easy closing.
- Promotional cards, instruction manuals, or thank-you notes.
For custom paper packaging, the most important rule is simple:
> Specify internal box dimensions unless your manufacturer explicitly requests external dimensions.
Internal dimensions describe the usable space available to the product. They are the dimensions that determine whether your item, insert, and protective materials will actually fit.
External dimensions are larger because they include the thickness of the paperboard, corrugated board, laminated finish, and structural folds. This difference may be small for thin folding cartons, but it can be significant for corrugated shipping boxes, double-wall cartons, and premium rigid boxes.
| Measurement type | What it measures | Best use |
|---|---|---|
| Internal dimensions | Usable product space inside the box | Product fit, inserts, foam, tissue, dividers |
| External dimensions | Complete size outside the finished box | Shipping calculations, storage, pallet planning |
| Flat dimensions | Size of the unfolded box blank | Manufacturing, print layout, die-cut planning |
| Product dimensions | Physical size of the item itself | Starting point for packaging development |
For example, imagine that a skincare gift set measures 24 × 16 × 6 cm. If the product requires a 2 mm paperboard insert and 1 cm of top clearance, ordering a 24 × 16 × 6 cm rigid box would likely be a mistake. The product may fit tightly—or not fit at all—once the insert and finishing tolerances are considered.
A more appropriate internal size might be:
25×17×7.5 cm
The final size depends on the product shape, insertion direction, internal support structure, board thickness, and desired presentation.
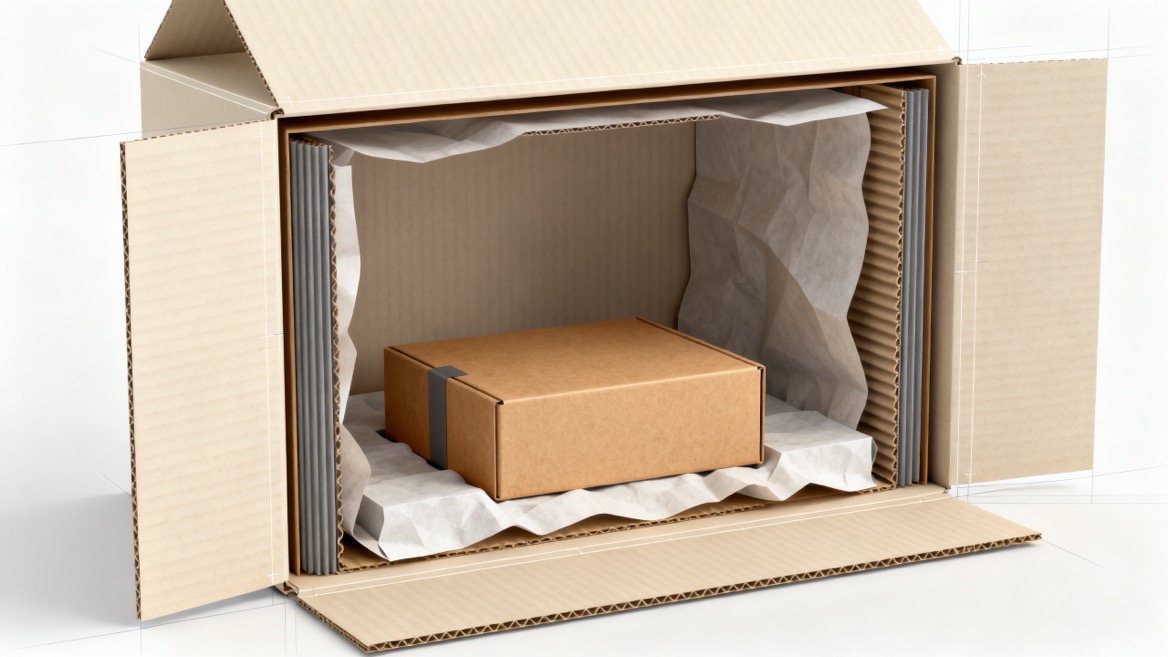
You do not need complex equipment to measure a custom packaging box accurately. However, the right tools help reduce preventable errors.
Use the following:
- Steel ruler or tape measure for basic length, width, and height measurements.
- Digital caliper for small products, thin materials, caps, edges, and tight tolerances.
- Flat work surface to prevent inaccurate readings.
- Notebook or measurement sheet to record units, orientation, and clearance requirements.
- Sample product in its final sellable condition.
- Protective materials such as tissue, bubble wrap, paper fill, foam, or inserts.
- Scale to record actual packed weight for shipping planning.
- Phone camera to document product orientation and special features.
Whenever possible, measure the actual finished product rather than relying only on a technical drawing. Product dimensions can change after assembly, filling, labeling, capping, folding, or accessory placement.
Use this process before requesting a custom mailer box or shipping box quotation.
Measure the product in the exact condition in which it will be packed.
For example, do not measure an empty candle jar if it will later include a lid, label, protective sleeve, or accessory. Do not measure a folded garment before it is placed in a polybag if the bag adds thickness and changes the final fold.
Include every component that will enter the box:
- Main product.
- Product sleeve or bag.
- Accessories.
- Charging cables.
- Instruction manuals.
- Retail cards.
- Gift tissue.
- Inserts.
- Protective wrapping.
Place the product on a flat surface. Measure the longest horizontal side.
Record this as length.
If your product is irregularly shaped, measure the widest outer points—not only the central body. A bottle with a wide cap, a cosmetic jar with an overhanging lid, or an electronic device with a protruding connector all require measurements at their maximum points.
Rotate the product or measure the second horizontal side. Record this as width.
For flexible goods such as apparel, textiles, or soft accessories, measure the product after it has been folded, bagged, and compressed into the intended retail format.
Measure from the lowest point to the highest point. Record this as height.
For mailer boxes, height is particularly important because insufficient clearance can cause the lid to bow upward. This can weaken the presentation, reduce stacking stability, and create a poor first impression when customers receive the package.
The product's raw dimensions are only the starting point. Add appropriate clearance for packing and protection.
A practical starting point is to consider:
- Minimal clearance: For products secured with a precisely designed insert.
- Moderate clearance: For standard mailer boxes with tissue, paper fill, or a thin protective wrap.
- Generous clearance: For fragile products, multi-item kits, glassware, cosmetics, or products requiring cushioning.
There is no universal allowance that works for every product. A compact jewelry box may need only a small tolerance, while a fragile ceramic set may need substantial space for protective materials and impact absorption.
Before finalizing dimensions, decide how the product should sit inside the package.
Ask these questions:
- Should the product lie flat, stand upright, or be displayed at an angle?
- Which side should the customer see first after opening the box?
- Does the product need a pull ribbon, finger notch, or easy-lift tray?
- Will the product be packed by hand or through a repeatable fulfillment process?
- Can the orientation reduce the box height or improve shipping efficiency?
- Will the box be stacked in a warehouse or master carton?
This stage often creates the greatest savings. Changing the product orientation can reduce empty space without compromising protection or presentation.
If you already have a sample box, measure the inside of the assembled box.
1. Open the box fully.
2. Measure the longest internal opening from wall to wall.
3. Measure the shorter internal opening from wall to wall.
4. Measure from the inside bottom panel to the inside top edge.
5. Record the dimensions as Length × Width × Height.
6. Note the material type, board thickness, closure style, and any internal inserts.
7. Photograph the box from the outside, inside, and open-lid positions.
For a mailer box, measure the inside dimensions after the side walls and front tuck have been assembled. Do not measure only the flat die-cut blank, because the blank size does not represent the usable internal volume.
For a two-piece rigid box, measure the base and lid separately if the lid fit is important. A lid that is too tight may be difficult to open; a lid that is too loose may look low quality or come off during handling.
Box volume tells you how much three-dimensional space is available inside a package.
Use this formula:
Box Volume=Length×Width×Height
For a box with internal dimensions of 30 × 20 × 10 cm:
30×20×10=6,000 cm3
The internal volume is 6,000 cubic centimeters.
If you use inches:
12×8×4=384 cubic inches
Volume is useful for several planning decisions:
- Estimating how much void fill may be needed.
- Comparing different box-size options.
- Planning warehouse storage.
- Designing master cartons.
- Evaluating shipping efficiency.
- Reviewing dimensional-weight exposure.
However, volume alone does not guarantee a good fit. A product can have a smaller total volume than a box and still fail to fit due to its shape, orientation, protrusions, or the need for internal protection.
Parcel carriers often charge based on either actual weight or dimensional weight, depending on which is greater. Dimensional weight reflects the space a package occupies during transportation relative to its physical weight. FedEx explains that dimensional weight is calculated by multiplying length, width, and height, then applying a dimensional divisor; its U.S. guidance uses a divisor of 139 and instructs shippers to round measurements to the nearest whole inch.
A common calculation is:
Dimensional Weight=(L×W×H)/139
For example, a lightweight e-commerce product shipped in a 16 × 12 × 8 inch carton has a dimensional weight of:
(16×12×8)/139=11.05
Depending on the carrier's rules and service, the shipment may be billed closer to 12 lb even if the actual item weighs much less.
This is why oversized shipping boxes can become expensive. Reducing unnecessary empty space may lower freight costs, reduce filler consumption, and improve warehouse efficiency. But avoid reducing box size so aggressively that product damage rises. The best solution balances protection, packing speed, appearance, and transportation cost.
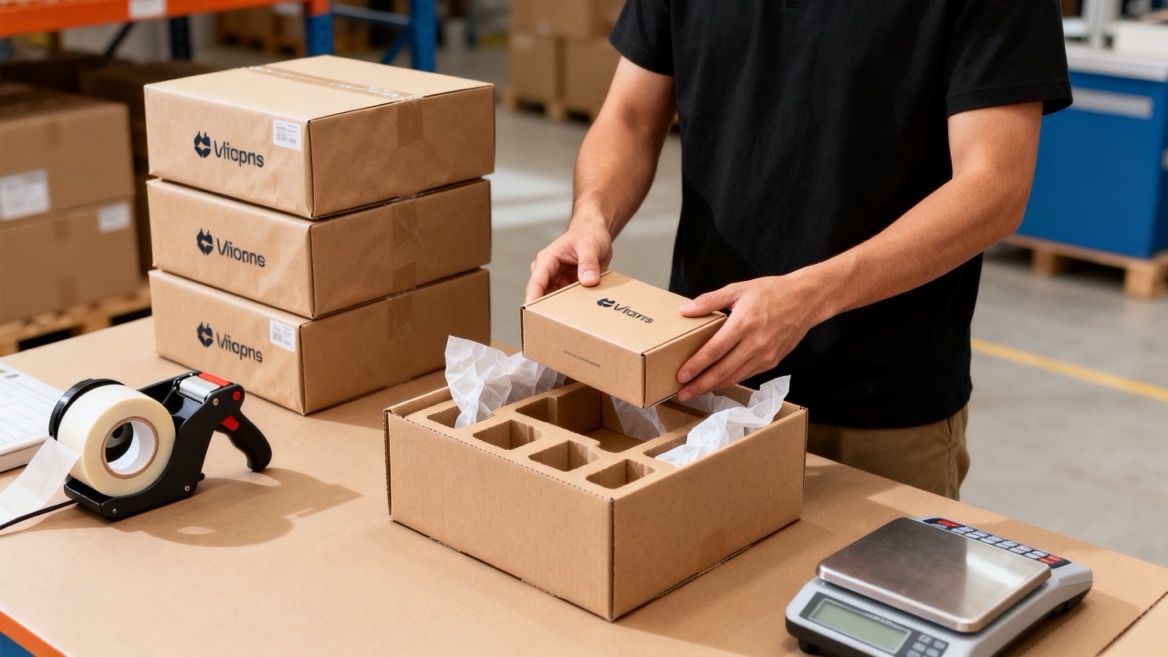
The correct dimensions depend partly on the box style you select.
| Box type | Best for | Measurement priority |
|---|---|---|
| Mailer box | Subscription kits, apparel, cosmetics, gifts, e-commerce orders | Product presentation, lid clearance, insert fit |
| Corrugated shipping box | Heavy products, bulk orders, export cartons, fragile goods | Protection, stacking strength, cushioning space |
| Rigid gift box | Luxury products, jewelry, cosmetics, premium sets | Precise fit, finish quality, lid tolerance |
| Folding carton | Retail products, lightweight goods, food and beauty items | Shelf presentation, product orientation, efficient material use |
| Two-piece box | Premium gifting, electronics, fashion accessories | Base dimensions, lid fit, internal tray alignment |
For e-commerce brands, a mailer box may provide the best balance of presentation and shipping convenience. For heavy or fragile products, a corrugated shipping box with properly designed internal protection is often the safer choice. For luxury items, a rigid box can add value—but it requires tighter dimensional control and careful insert engineering.
Before approving artwork, samples, or mass production, review the following checklist.
- Confirm that dimensions are stated as internal L × W × H.
- Use one unit system consistently: mm, cm, or inches.
- Measure the final packed product, not an early prototype.
- Include inserts, tissue, manuals, accessories, and protective materials.
- Allow enough clearance for practical packing.
- Confirm product orientation and the intended unboxing sequence.
- Consider material thickness, especially for corrugated board and rigid paperboard.
- Check the packed box's actual weight and estimated dimensional weight.
- Test whether the package can withstand normal handling, vibration, compression, and drops.
- Request a physical sample before mass production.
- Review whether the box can be efficiently packed into an outer shipping carton.
- Confirm that the final box supports your visual brand standards.
For distribution-ready packaging, testing matters as much as measurement. The International Safe Transit Association provides test procedures for packaged products and notes that repeat testing with new samples can improve statistical significance; it also recommends documenting corrugated-board paper and paperboard basis weights when corrugated boxes are used as the outer package.
Measuring only the product ignores the space needed for inserts, wrapping, promotional materials, and practical packing tolerance.
Outside dimensions may result in a box that is too small internally. This is especially risky with thicker corrugated board and rigid paperboard constructions.
Handles, lids, pumps, cables, clasps, and irregular corners can change the required box size. Always measure the maximum external points.
A smaller box can reduce dimensional weight, but insufficient cushioning may increase product damage, returns, replacement costs, and negative customer experiences.
A box that works for one person packing a single sample may not work well for a fulfillment team packing hundreds of orders per day. Test the actual assembly, loading, closing, labeling, and shipping workflow.
Knowing how to measure box dimensions accurately helps you develop packaging that protects products, controls costs, and presents your brand professionally. Start with internal Length × Width × Height measurements, then account for product orientation, board thickness, protective materials, inserts, and shipping requirements.
The most successful custom mailer boxes and shipping boxes are not merely "close enough." They are deliberately engineered around the finished product and its full journey—from packing table to warehouse, carrier network, customer doorstep, and unboxing moment.
If you are preparing a custom packaging project, Maituohong Packaging can help evaluate your product dimensions, recommend an appropriate box style, develop inserts, and create a sample that balances protection, appearance, and shipping efficiency. Share your product size, product weight, packing requirements, and reference images to begin a tailored packaging discussion.
The standard order is Length × Width × Height, written as L × W × H. Length is the longest side of the opening, width is the shorter side of the opening, and height is the vertical distance from the bottom to the top of the box.
For a custom packaging quotation, provide internal dimensions unless the manufacturer specifically requests external dimensions. Internal dimensions show the usable space available for your product, inserts, and protective materials.
The correct amount depends on the product, material, insert design, and protection level. Products held by a precise insert may require minimal clearance, while fragile products shipped with cushioning need more space. A packaging sample is the safest way to confirm the final fit.
Measure the product at its widest, longest, and tallest external points. Include lids, handles, pumps, cords, labels, and any components that extend beyond the main product body.
Yes. Many carriers compare actual weight with dimensional weight and charge according to the higher figure. A larger box can increase shipping cost even when the product itself is lightweight.
A mailer box is usually a self-locking paperboard or corrugated box designed for direct-to-customer presentation. A shipping box is typically designed primarily for protection, stacking, and transport. Some e-commerce brands use a branded mailer box inside a plain outer shipping carton for added protection.
Possible causes include measuring external rather than internal dimensions, changes in board thickness, insufficient tolerance, insert variation, product changes, or differences in assembly. Approving a production-ready sample with final materials helps prevent this problem.
- [Tycoon Packaging — How To Accurately Measure Box Dimensions]
- [FedEx — What Is Dimensional Weight?]
- [FedEx — Package Guidelines and Dimensional Weight Information]
- [International Safe Transit Association — Getting Started With Design and Testing]
- [International Safe Transit Association — Test Procedures]
- [International Safe Transit Association — ISTA 3A Overview]
- [Shorr Packaging — The Ultimate Guide to Corrugated Boxes]
- [President Container Group — Inside Dimensions: How Corrugated Box Sizes Are Specified]


